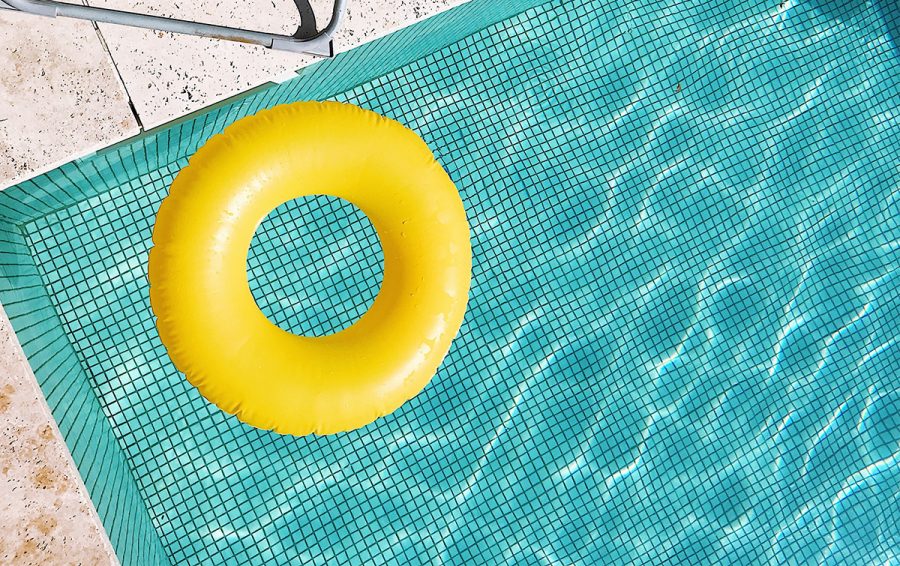
An inflatable pool ring is a great way to enjoy a pool without having to swim laps. They are also great for small children who want to play in the water but are not yet ready for the deep end.
But what happens when your inflatable pool ring gets a hole in it? This can be a common problem, but it is luckily an easy fix.
How to Fix an Inflatable Pool Ring
With just a few supplies and some elbow grease, you’ll have your pool ring good as new in no time!
Step One: Prepare Your Work Space
The first thing you need to do is lay out all of your materials. You will need the pool ring, adhesive, scissors, and a pencil. Make sure you have a clean work space where you can lay out all of your materials and work without interruption.
Step Two: Mark the Hole with a Pencil
Once you have everything laid out, take your pool ring and find the hole. Once you have found the hole, use your pencil to trace around it. This will give you a guide to follow when you are applying the adhesive.
Step Three: Cut Out the Damaged Area
Now that you have traced around the hole, it is time to cut out the damaged area. Be sure to cut along the lines that you traced so that the hole is not too big or too small. The goal is to have a hole that is just big enough for the adhesive to patch.
Step Four: Apply Adhesive to Patch Hole
Now that you have cut out the damaged area, it is time to apply adhesive to the patch. You can use whatever type of adhesive you would like, but we recommend clear Gorilla Glue for its durability.
Once you have applied glue or another type of adhesive around the edges of the patch, carefully place it over the hole on the pool ring.
Be sure to smooth down any wrinkles or bubbles so that the patch lays flat against the material. You may need to hold it in place for a minute or two until the glue dries enough to keep the patch in place on its own.
If there are any areas where the adhesive does not seem to be holding, apply more and hold in place until dry.
Let dry completely before moving on to step five.
Step Five: Inflate Pool Ring and Enjoy!
Now that your patch is dry, it is time to inflate your pool ring and enjoy! Make sure there are no leaks before inflating completely. Once inflated, enjoy your repaired pool ring worry-free!
By following these simple steps, you can easily repair an inflatable pool ring with just a few supplies that you likely already have at home. With very little effort, you can extend the life of your pool ring so that everyone can enjoy it for years to come!
Why Do Pool Floats Deflate And What Can I Do About It?
There are a few reasons why pool floats deflate, even if they appear to be in good condition.
The most common reason is that the float has a small hole or leak. Even a tiny hole can cause air to slowly escape, which will eventually lead to a deflated float.
Another possible reason is that the valve is not completely closed. The valves on pool floats are typically located on the side or bottom of the float. Be sure to check that the valve is closed tightly before inflating your float. Otherwise, air will begin to escape as soon as you start inflating the float.
If you’ve ruled out both of these possibilities, then it’s likely that your float is simply not being inflated properly. When inflating a pool float, be sure to use a pump designed for inflatable pool toys.
Do not use an air compressor, as this can damage the float. Inflate the float slowly and evenly until it reaches its full size. Once inflated, check thefloat for any weak spots or holes. If everything looks good, then you should be good to go!
Pool floats are a summertime essential, but they can be frustrating when they keep deflating. Luckily, there are a few things you can do to prevent this from happening.
Be sure to check for holes or leaks, and make sure the valve is closed tightly before inflation. Most importantly, use a proper pump to inflate the float slowly and evenly. With these tips in mind, you’ll be able to enjoy your pool float all summer long!
About the author: Chris loves the outdoors and has developed a love of gadgets and inflatable toys, from kayaking and paddle boarding to relaxing in his hot tub at home. The founder of WhichInflatable and has been the editor for 7 years.
Which Inflatable is supported by its audience. When you purchase through links on our site, we may earn an affiliate commission.

